Tuesday, August 22, 2023

How to Visually Open Up Your Space

 ~~~Feature Post~~~

Gone are 
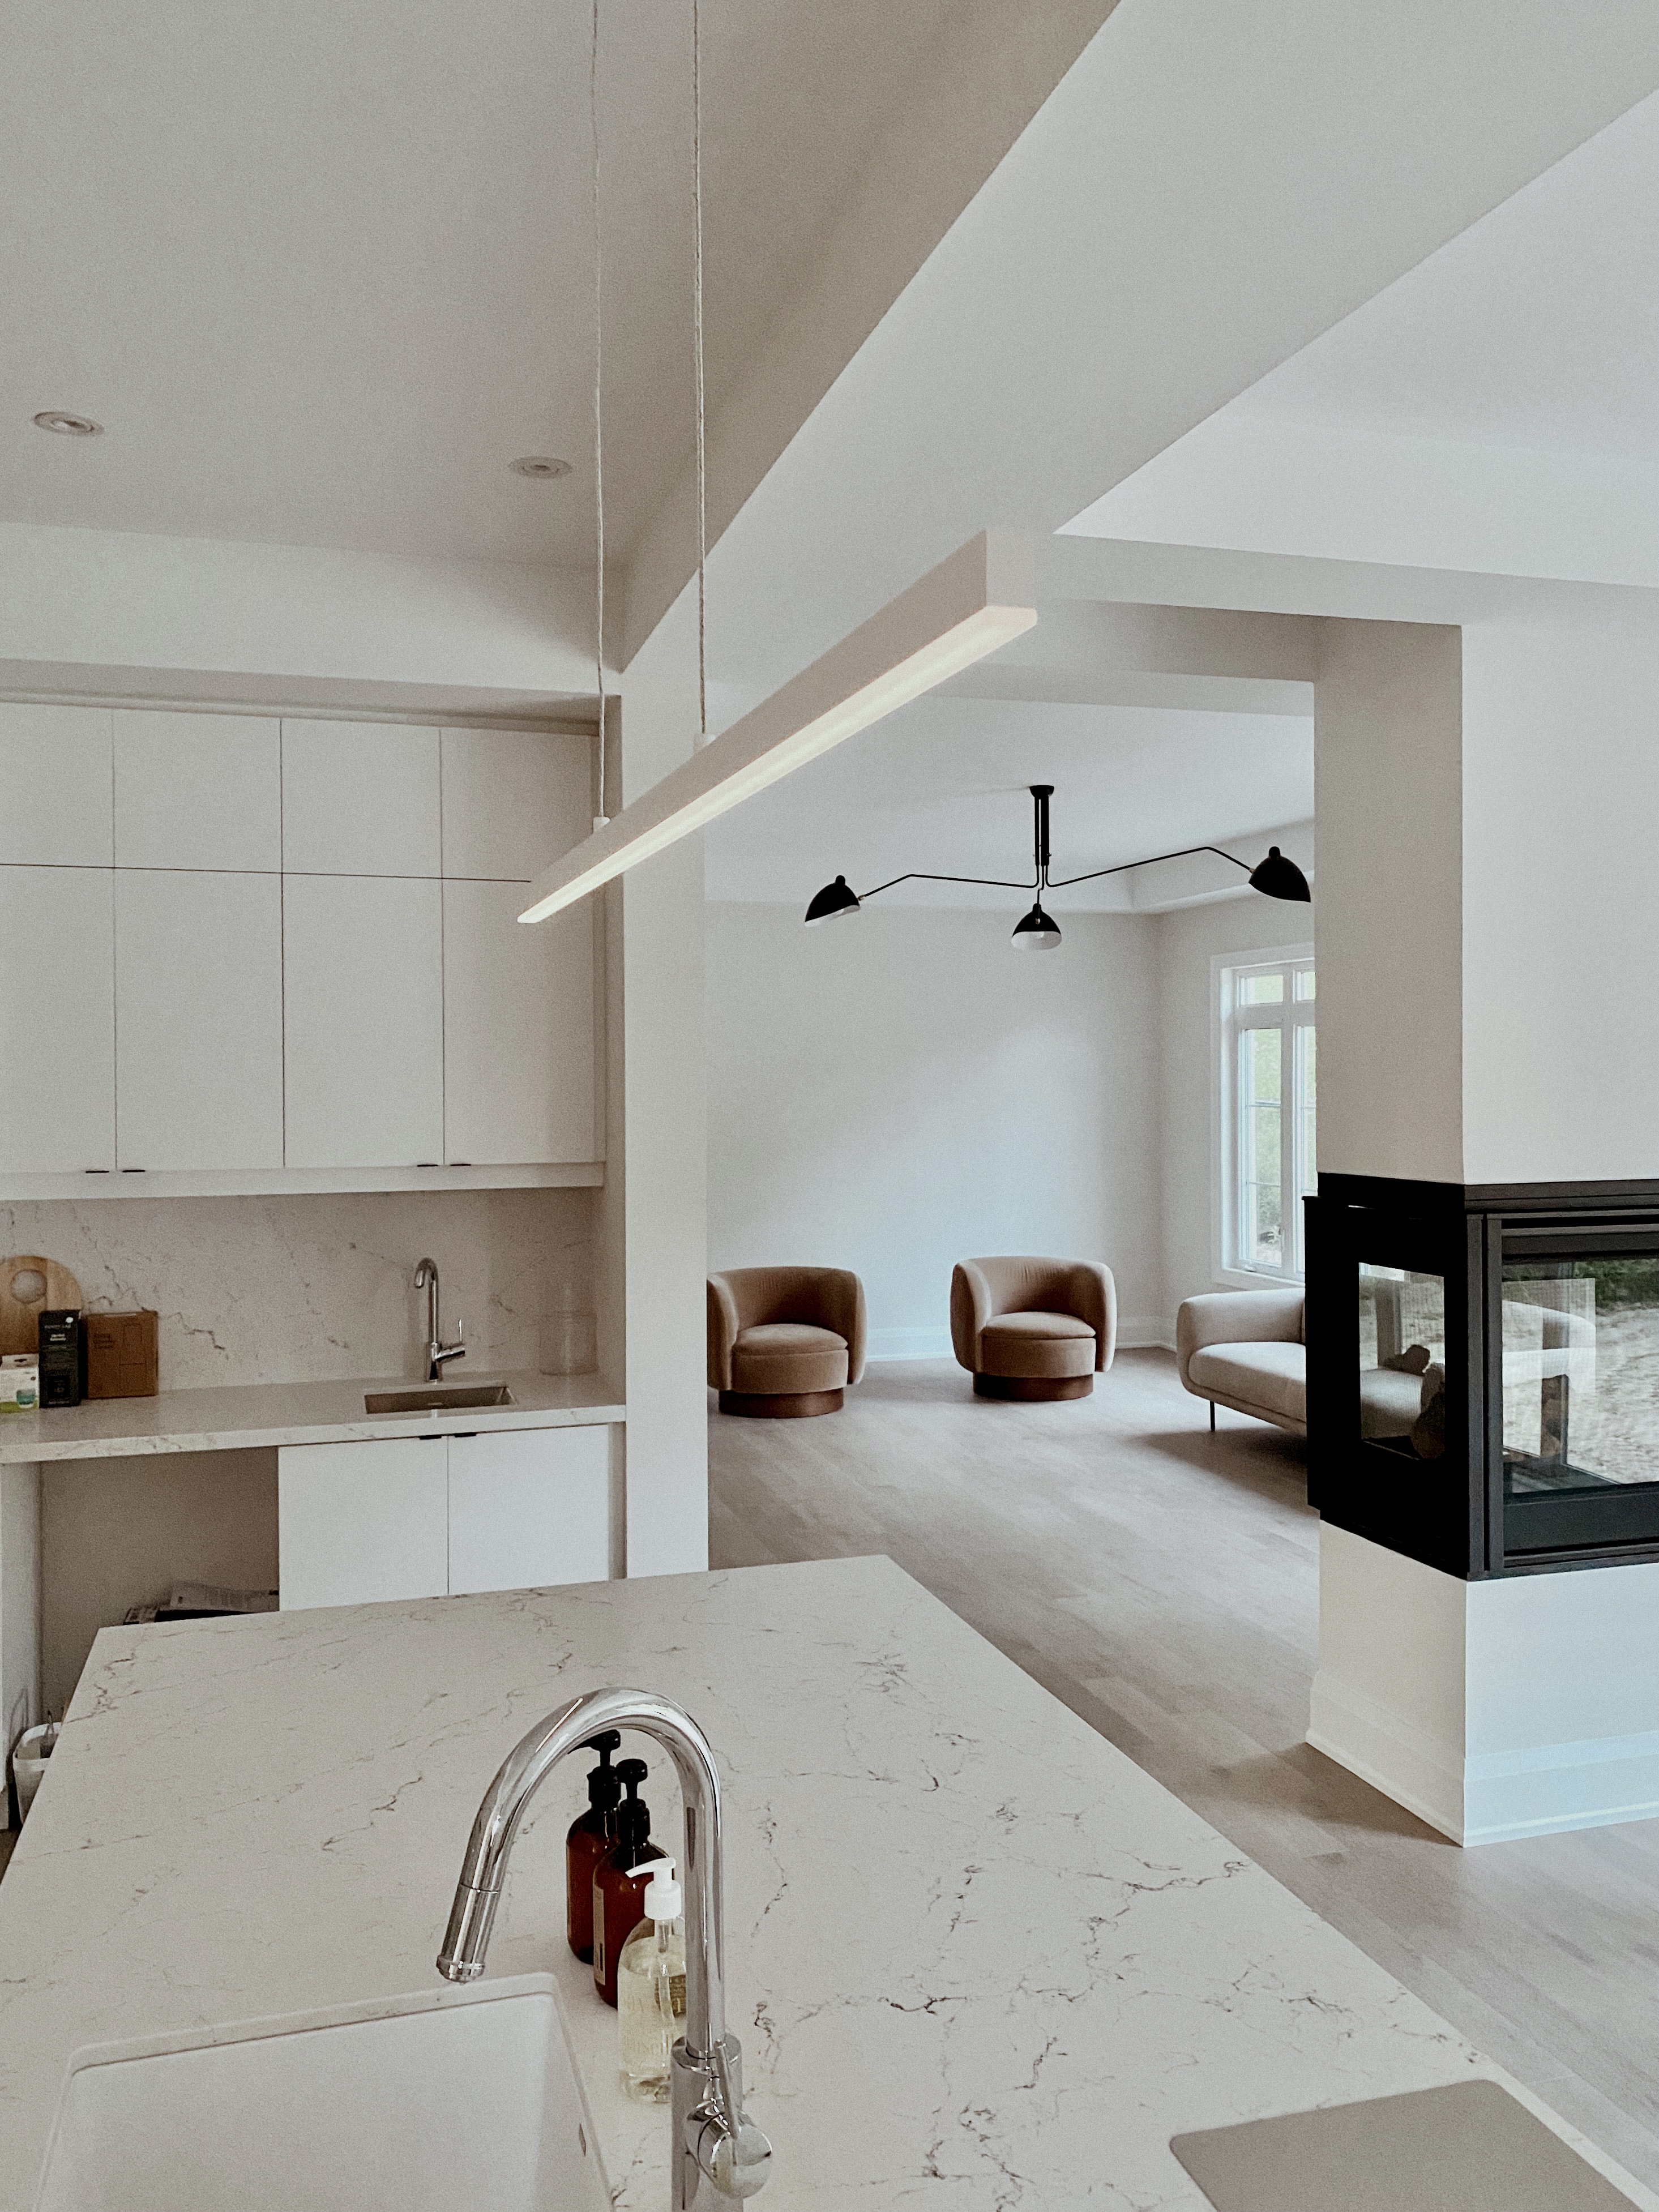
the days when homes had to be small and dark, just to keep the heat in. Today with modern insulation, windows, and innovative HVAC systems, you can keep your home the perfect temperature even if it’s fully open plan. The fact that you can enjoy even these open spaces all year around has been a game changer for interior design. It means that you can make any home brighter. Even just visually opening up your space can do wonders for your home and your quality of life.

If you’re not sure where to begin with opening up your interior design, don’t worry, this guide has your back.

Use Glass Railings

Glass railings and fences are one of the easiest ways to open up your space and modernize it all at once. Glass railings inside are a must to open up areas like your stairwell, which can traditionally be quite dark due to the shape of the stairs. Outside glass fences can be used to open up the view. Particularly if your home is on a hill, glass fence installers can turn your view from great to utterly spectacular. You’ll want as little obstruction as possible when it comes to both light and views, so if a railing or fence is getting in your way (but also a safety requirement) then a glass fence is the ideal compromise. 

Use Light Colors

One of the best and easiest ways to brighten the interior of a home is to use light colors. Don’t worry if you’re someone who hates white walls, as any light shade will do. You can use yellows, blues, and even greens — just make sure that the shades you choose reflect as much light as possible. 


Use Mirrors

Another simple, but effective way to open up your space visually is to use mirrors. Mirrors bounce light and reflect it throughout the home over and over. Don’t think you have to use just mirrors, either. The glass on top of pictures also works to reflect the light. 


When to Open Up a Wall

If your home is particularly old and each room is very, very dark, then your best bet is to open up a wall, or even two. To really help brighten a space, each room should have at least two windows. This is particularly important for living spaces on the ground floor. If you have a small home, then open up your walls so that you gain access to light from the front and back of your home. 

Declutter

Last but not least, declutter. All the above tips will mean nothing if your home is full to the brim with things that you don’t use or even like. Decluttering everything from knick-knacks to even furniture pieces can do wonders for opening up the floorplan and letting your interior design breathe. Other ways to hide your clutter include choosing multi-purpose furniture that has hidden storage or investing in vertical storage solutions like shelves to get things off the floor.  

Thursday, August 17, 2023

Find Me on Instagram

 Hi Blog friends! 

I am still around and still very much in the interior design/styling sphere! I can't believe it's been over a year since I last posted here and nearly two years since I posted new content about my Hilltop House! Time does fly when you have a very busy career and a super active toddler! 

For the very little spare time I have left for myself every day, I spent it on things that always inspire me - interior design. I posted all the new photos of my custom build, from the construction two years ago to the now furnishing and styling, on my Instagram account amdolcevita. You can find me at https://www.instagram.com/amdolcevita/. 

You will notice my Hilltop House style is quite a departure from my last house. It's more modern, soft minimal, and definitely far more livable. I've been keeping the accessorizing to a minimum so every piece has a purpose and more presence in a room. Here are a few shots to give you an idea. If you love my new style, maybe I will meet you on Instagram

Our ground floor hallway custom built-in - it became the most used storage space on this floor! 

Our family room featuring Timothy Oulton's floating marble coffee table sourced from ELTE, Christine Lemieux et Cie Baron plaster side table, Athena Calderone for Crate Relic oak and Pompeii pedestals, and Chris Loves Julia x Loloi Polly Checkered rug in the largest size 13x9'3". 


Hallway and my office reading corner featuring the Sabine Marcelis x Ikea Varmblixt collection wall sconce, and of course, my forever loved Roly Poly chair. 

Athena Calderone for Crate and Barrel Honore oak sideboard and Colin King for Audo Copenhagen Surround vase. 

Rove Concepts' Dresden modular sectional turned out to be so comfortable that I couldn't stop my toddler from lounging on it! 

Baby's hand wash station, also known as our kitchen bar area. 

   Kitchen

Guest bathroom featuring Montana Labelle's marble hooks

Another custom built by Canadian Closets using white oak cabinetry. Behind the closed doors are my husband's DVD collection (face palm emoji) and my son's toys and books. 

Front sitting room featuring Lawson Fenning for CB2 Muir chairs and Gus Modern Nord sofa in Rosseau Barley. Rug should look familiar to you - it was from the living room of my last house. Coffee table is a vintage travertine piece refinished professionally by the 365 Studio. Ceiling light is Herman Miller sourced from Gabriel Ross. 

Formal dining room - didn't think I was going to have one but decided to go through with it. This nearly 10-foot long solid wood dining table was from CB2 - it provides perfect table space for my family to play Legos together. 

My primary bedroom - you can see that I am keeping the furnishing to a minimum with only the functional pieces. Bed is from Rove Concepts Ophelia bed in King size. 

My favourite mirror of all times - the Pond mirror from Ferm Living. Console table is an old piece from CB2. 

Colin King for Audo Copenhagen Interconnect Candleholder. 

Foyer featuring CB2 Bali pendant large size, Colin King for Audo Copenhagen Stance vases, CB2 mantel mirror and Article Lenia sideboard in white oak. 


I will try to link everything next time I am back here. Feel free to drop by my Instagram page and ask all your questions there. 

See you around friends! 


Tuesday, July 26, 2022

Pros And Cons of Managing Your Own Home Remodeling or Renovations

 ~~ This is a featured post.~~

The home DIY sector has simply exploded in popularity and as more people have more time at home or the remote and hybrid way of working takes hold, it has become incredibly common for professionals to be renovating and change their homes. It is an accepted means of adding value to your home and increasing your equity, as well as the norm before selling and, strangely enough, immediately after the new buyer has moved in.

Many homeowners simply go out and hire an expert who projects, manages, and presents them with a finished product. Then there are those who make use of the widespread availability of information guides to do this kind of work themselves. Here are the pros and cons of such DIY renovations.

Pros

More control over the process

You are in charge when you do your own renovations, and if, for example, you want to sell your house in Raleigh-Durham, you won’t need to waste time finding the best contractor. Your changes or renovations can be made to suit the market. Should you do the work yourself, you are able to control the creativity and give the space your personal stamp of character.

Cost savings

You will definitely save on labor if you do most of it yourself. Simple things like preparing walls for painting and all of the non-skilled work should be done by you. It’s a great way to save money but also begin to learn and develop your DIY skills.

Cons

You could end up with a mess

Not all the How To videos that you find online are genuine, and many that may be quite difficult to follow. It’s a huge risk to attempt any large-scale changes such as floors, utilities, or waterproofing on your own without professional on-site advice and supervision. One of the biggest ironies of the DIY boom is that not only may some do their own work, but there is also an ongoing increase of homeowners needing to hire professionals to take care of unplanned, unfinished, and unsafe home additions and changes.

Constraints of time

A major downside of attempting to do your own renovation is that you are likely to have other responsibilities, and unless you take time off work and these responsibilities, you will be unable to dedicate the required time to get it done timeously. Your time is money, and as such, you will have to weigh up who is best placed to do the work as soon as you have the quotations.

Whether you are renovating or reworking your house to sell it or simply making some changes to make it more livable, the idea is to add value and increase the benefits that you or whoever lives on the property is able to enjoy. The final decision as to whether you do the house renovations on your own is essentially going to come down to exactly what it is that you intend to do. If there is anything whatsoever about the changes that are structural or require measurements, rethink your plan and perhaps even find a professional to help.

Monday, July 4, 2022

How to Make Your House Remodel Go Smoother

 ***This is a featured post***

House remodels are truly a chaotic time for you and your family; some rooms might be off-limits, and you might be wondering if you are doing the right thing. You might also need to work on dates around other people’s schedules, which is annoying if you constantly stop-starting. So, you should be finding ways to help the whole process go a lot more smoothly for you and everyone involved. 


#1 Moving Your Things

This can be one of the bigger stresses of renovating your house. You might have nowhere to put the piles and piles of stuff you have accumulated over the years, or even the means to get it off-site safely. 

You might find that it is beneficial to look for man + van services in your area. You might find that a man with a van service is great for moving little pieces backwards and forwards securely, so none of your stuff gets broken and you don't have to borrow your friend's trailer or your mom’s bigger car. 

You might find that this sort of thing takes a lot of stress away from your general day-to-day, especially if you are in a position where you are waiting for weeks to be able to get your next load of materials or your friend who is supposed to be helping with the heavy lifting keeps on canceling last minute. 

#2 The Order of the Renovation

The order in which you renovate your property is very important to how your renovation goes and how much money you are spending overall. Here is a list of the order you should renovate in:

Upstairs bathrooms

Downstairs bathrooms 

The kitchen

Living areas 

This is simply due to the positioning of pipes. You don't want to spend a lot on your living room only to have to tear up the ceiling above it because you have a bathroom directly above with a leak. 

#3 Getting the Right Materials

This is an important part of making sure that your renovation goes smoothly. Using the right high-quality materials for the job means that you are working with the best that is available, and consequently that the result will not only be high quality but also long-lasting. This is desirable as you want it to be a long time before you go through all this disruption again.

#4 Investing in Professional Help

You are going to need professional help for some things, such as the plumbing, the electronics, and maybe some other installations that you know you wouldn’t be able to do on your own. You should make sure that these things are done by a professional to lower the risk of a hazard such as a fire, leak, or getting shocks from your efforts with the electrics. This is also important when you come to sell the property, as you can hand over the right certification to show it has all been done correctly and safely, as well as to a high standard. 

Friday, April 2, 2021

Hilltop House Construction Progress April 2021

We purchased our hilltop wooded lot over a year ago and the project was delayed so much that we didn't think it was ever going to happen for us. 

We drove by the lot during our weekly errands in early March and still, nothing. 

On March 20, 2021, out of curiosity we again drove by the lot. To our great surprise, it looked like something was happening! We had ourselves a pit!!!


Five days later on March 25, the foundation was laid. The builder surely didn't waste anytime after they secured the building permit for us. Picture below, this is the side that's going to support our garage. We love that our basement will have high ceiling (9.5 - 10 feet) just like the floors above (ground and second floors 10 feet, third floor 9 feet). 

This is from the other side where we will have a bay window above. 

Looks like we will have a few steps leading up to our front portico, according to our grading. I am guessing at least 6 steps based on the slope. 

April 2, 2021: foundation is still curing. Waterproofing membrane was installed. 


Related Posts Plugin for WordPress, Blogger...